
Installing a shower enclosure is a job many people will shy away from. Although it may seem complex at first, once you know the steps you need to take the process is a lot simpler.
In this guide we'll take you through how you can easily install your brand new shower enclosure and start enjoying a lovely shower experience.
Before You Start
Tools & Equipment Needed:
- Spirit level
- Pencil
- Drill
- Rawl plugs
- Silicone sealant
- Sealant gun
(Visit our shower tray installation guide for equipment you'll need for step 1 below)
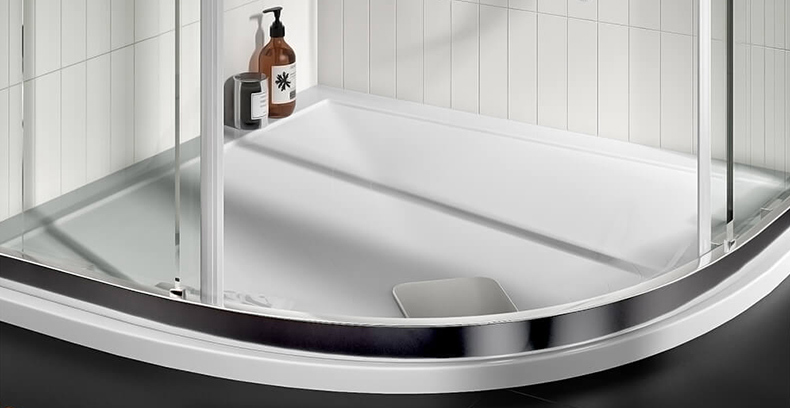
Step 1: Fitting The Shower Tray
Before you can start installing your enclosure, you'll need to install your shower tray.
This job involves marking out and positioning your tray and waste, checking the tray is level, attaching the waste and applying sealant. As this job is quite complex and varies depending on whether you're installing a low profile or regular shower tray, we've created a specific guide to take you through the process.
Step 2: Building The Frame
Once you've got your shower tray in place it's time to start building your enclosure frame. The specific steps and panels you'll need to install will vary depending on which type of enclosure you've purchased. This guide is designed to outline the basic steps you'll need to take, but don't forget to always refer back to your manufacturer's instructions.
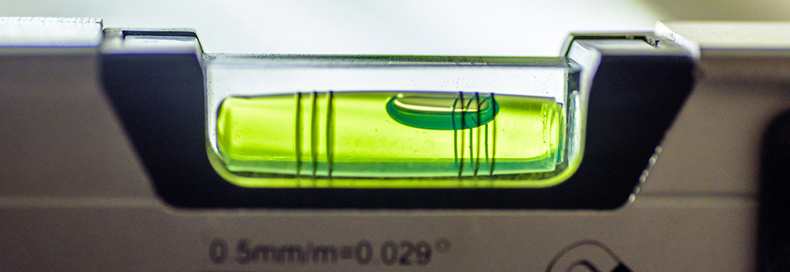
First up you'll need to align your channels in the corner of your shower tray. The channels hold the shower glass so it's important to align them correctly. For this step it's best to ask a friend for some help.
Place the channel in the corner of your shower tray and use a spirit level to check it's vertically level. Once it's aligned correctly, use a pencil to mark the holes where you need to drill.
Next up you'll need to drill holes where you've just marked. It's important to make sure you use the correct drill bit for the surface you're drilling into and check for any pipes or electric cables first.

Once you've drilled the holes, insert your Rawl plugs. You can now attach the shower channel to the wall using the fixings and instructions provided by your manufacturer. Once this is done you can slot your panels into the channels, again referring to the manufacturers instructions.
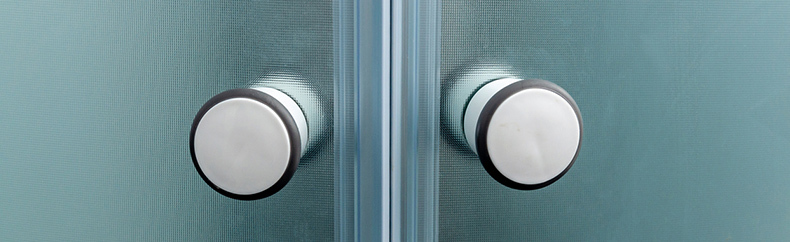
Step 3: Add Fixtures & Handles
Once you've assembled your frame it's time to attach the fixtures and handles. The type you have will depend on the type of shower enclosure you've purchased so you'll need to refer to the supplied instructions.
Step 4: Sealing The Shower Enclosure
Once you've installed the panels and fixtures the last step is to seal everything up.
Using your silicone gun, seal around the outside edges of the shower enclosure. Make sure you don't seal the inside edges.

Now you know how to install a shower enclosure, all you need to do is find the perfect style for your bathroom. Drench has a great selection for you to choose from including walk-in, corner, frameless and rectangular enclosures.
This guide is intended as a reference only, we always recommend hiring a trained professional to complete any installations. Drench cannot accept responsibility for any personal injuries, damage to your home, products, or subsequent invalidation of any warranties if you attempt the job yourself.


