
Whether you’ve fitted a new tap or completely renovated your bathroom, you certainly might want to show it off to friends, family, and the wonderful world of social media. However, taking a photo of your bathroom that looks as good as it does in the flesh isn’t easy. Whether the angle doesn't look right, you haven't got enough light, or your bathroom looks cluttered, getting that perfect shot can be a challenge.
In this guide, we take you through some simple steps you can take to take great interior design photos every time.
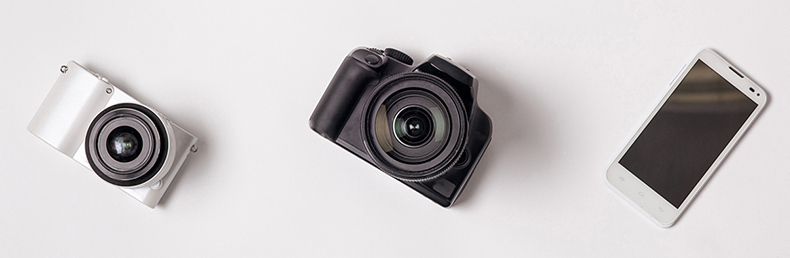
Use Whatever Camera You Have
It’s a common misconception that you need a really expensive camera to take good photos. In reality, you can take a brilliant photo with a cheap camera and a terrible photo with an expensive camera. With advancements in technology, the gap between high end cameras and smartphones has narrowed to the point where you can take a professional looking photo using just your phone.
Although an SLR will give you many more options, with the correct techniques and preparation, you don't need to shell out on a new camera.
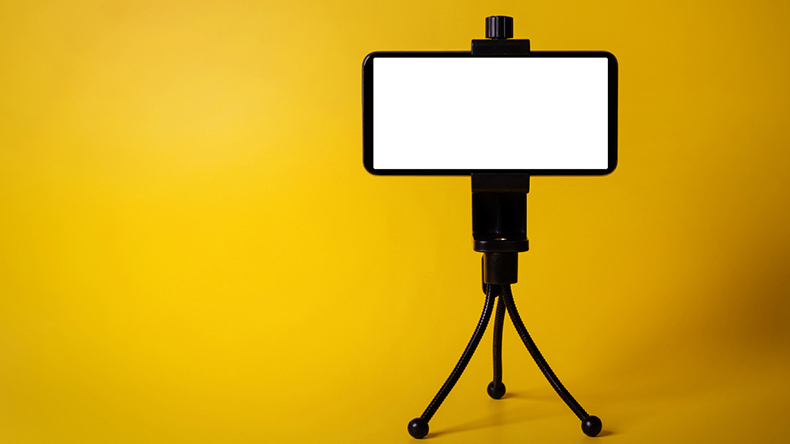
Use a Tripod
Whichever camera you use, we always recommend teaming it with a tripod. The more stable the camera, the sharper the photo, so a tripod is a must. This will also allow you to keep your camera at the same position once you find the perfect angle and many come with a spirit level built in to help you keep your camera level.
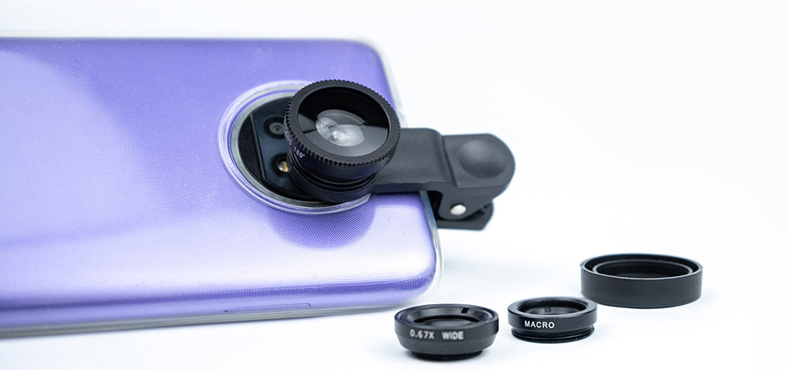
Invest In a Wide Angle Lens
Have you ever wondered why rooms often look a lot bigger on property sites than in person? The secret is wide angle lenses. These lenses are designed to extend the field of view of your camera, allowing you to capture more of your bathroom in one shot. Some newer smartphones now come equipped with a built in wide angle lens (that's what all the extra lenses on the back are for). Alternatively, you can buy clip on lenses for your smartphone, as seen in the image below, relatively cheaply.
When choosing a wide angle lens, be careful not to go too wide. Choosing a really wide angle, such as a fish eye, will distort the edges of your photos, which can lead to some strange looking images!
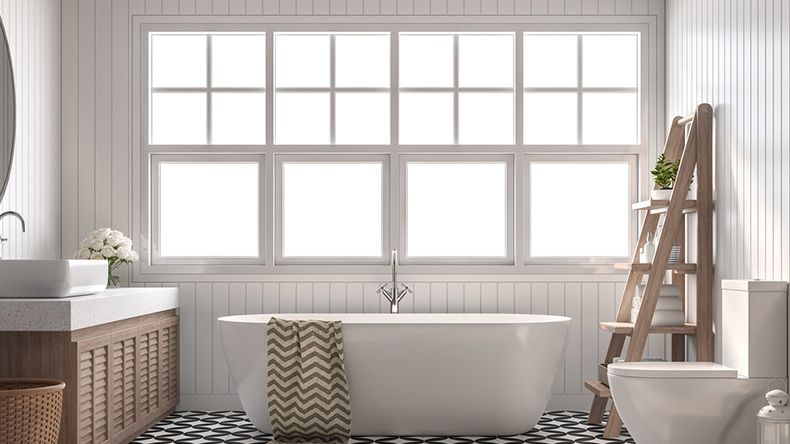
Think About The Light
When photographing your bathroom, light is your best friend. The right light is essential to fully show off your stunning new bathroom, so make sure you open any blinds and try and take your picture on a sunny day.
If you haven't got a lot of natural light available, try and use the available lighting in your bathroom and consider using an extra lamp. If you're using your smartphone, we wouldn't recommend using the flash as these are often small so will give off a harsh, unappealing light.
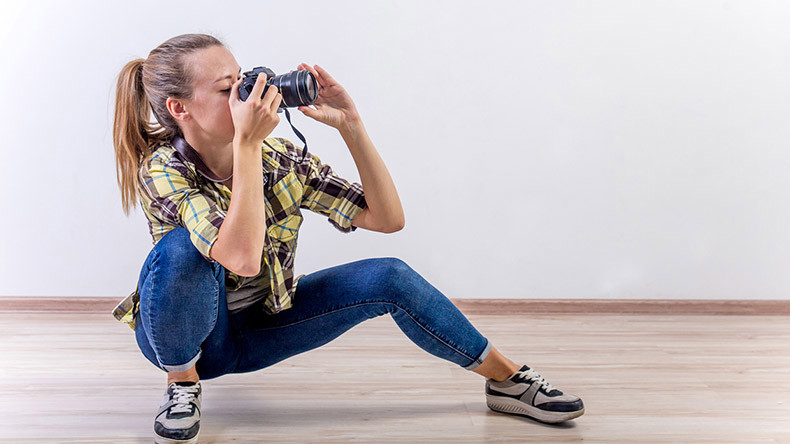
Try Different Angles
When many people pick up a camera, they will instinctively take a picture from just above their chest. Although this can be useful when taking pictures of people or landscapes, when taking pictures of your bathroom, it will give the appearance of 'looking down' on the room.
Dominic Lees-Bell, bathroom expert at Drench suggests, "To get the best angle for your bathroom photos, try taking the picture from just above your waist. This will ensure that you avoid 'looking down' on the room which can give an unflattering result and will make the space look cramped."
However, this is just a recommendation and photography is all about experimentation. Don't be afraid to try lots of different angles until you find the perfect shot.
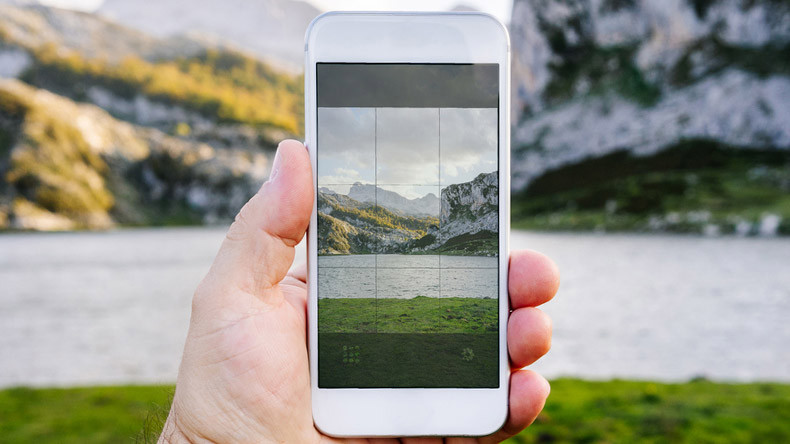
Shoot Straight
Although we think experimenting with different angles can help you get some great photos, you should always try and keep your camera level. This can be trickier than it sounds so if you don't have access to a tripod, try turning on the grid function on your phone or camera. These lines across the screen will give you a reference point to check how straight your photo is.
Remove Clutter
If you want to show your bathroom to the world, make sure you capture it at its best. We know our bathrooms aren't completely spotless 24/7, but that doesn't mean you shouldn't spruce it up ready for taking photos.
A good place to start is removing any clutter from your shower and worktops. We're thinking shampoo bottles, makeup, toothbrushes and bottles of soap. Once you've removed all that clutter, it's also a good idea to remove any toothpaste stains from your basin and give your mirror a quick clean. Take a look at our guide for how to clean a bathroom which we highly recommend doing before taking photos.

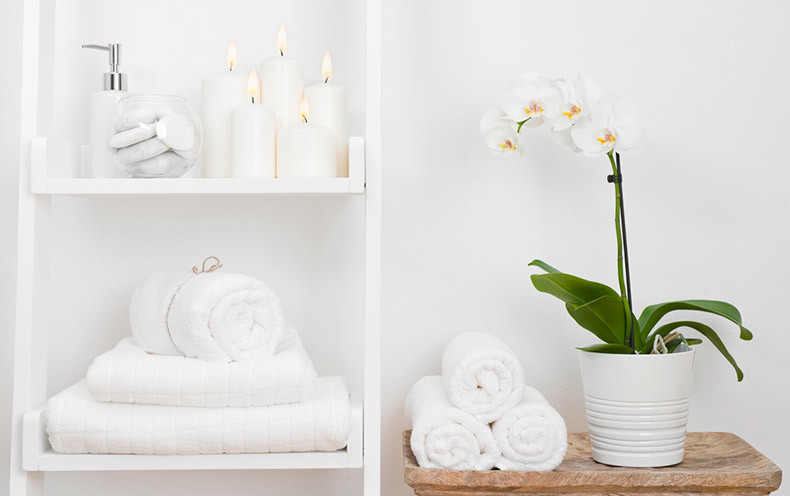
Accessorise
As we've already mentioned, you want to show your bathroom in it's best light, so don't forget about accessories. Adding a set of luxury towels, plants and candles can help give your bathroom a 'lived in' feel without making it look cluttered.
There's a fine line between your bathroom looking empty and sterile to messy and cluttered, so experiment with different accessories until you've got the perfect shot.
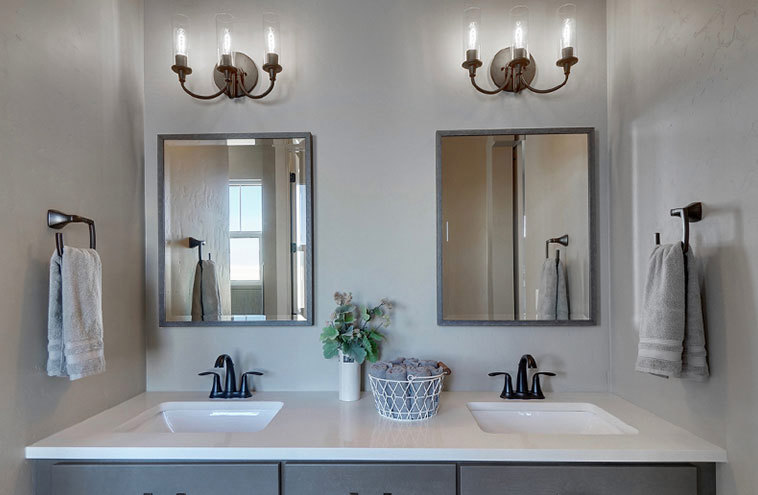
Keep An Eye On Your Mirror
One of the trickiest areas of your bathroom to deal with when taking photos is the mirror. When you're taking your photo, think very carefully about what will be showing in the reflection!
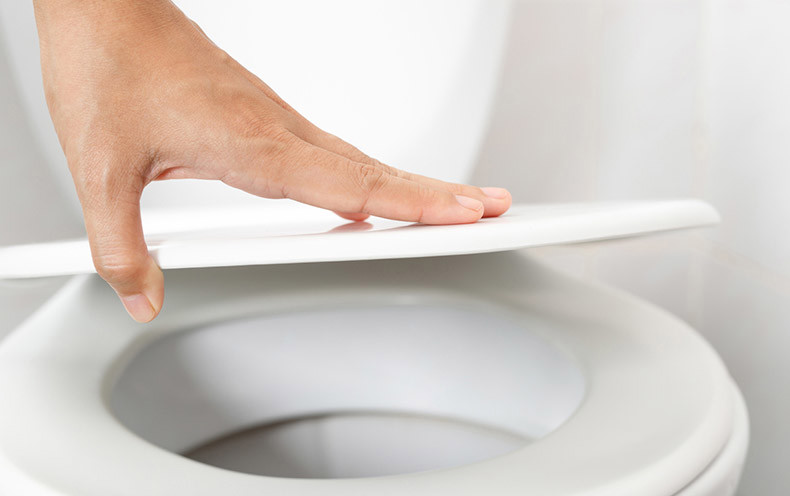
Close The Toilet Seat
This might seem like a no brainer, but nobody wants to see the inside of your toilet, so keep that lid closed when taking pictures. We'd also recommend giving the outside of your toilet a clean too. It's an area many people will forget to clean frequently but any stains can be amplified by the camera.
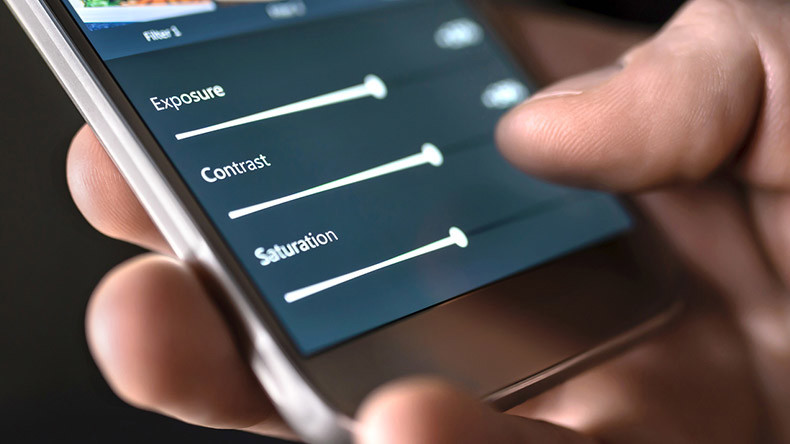
Edit Your Photos
The last step to a great bathroom photo is editing. Although trying to get the lighting right at the time of taking the photo is important, editing your photos can really make your photos stand out.
There's a whole host of different smartphone apps you can buy or grab for free to help with photo editing. If you want your picture to appear brighter, try adjusting the exposure and brightness. To bring some extra colour to your photos, experiment with vibrancy and saturation settings.
One of the greatest things about photography is trying new techniques and ideas. This guide should help you get started but with photography, the rules are made to be broken! So grab your phone or camera and get snapping.


