
Applying bathroom sealant has a reputation for being a difficult job, but it really doesn't need to be. With a little patience and our handy guide, you'll have your sealant replaced in no time!
Tom Drake, DIY expert at Drench claims, "replacing the sealant is an easy way to give your bathroom a refresh. It's often an area where dirt and mould will accumulate and no matter how hard you try to clean it, you probably won't get it looking as fresh as the day you first applied it. Bathroom sealant is vital for protecting your bathroom from leaks by stopping water from getting underneath your bathtub."
Can you put new sealant over old?
You shouldn't put new sealant over old sealant. The old sealant will likely be dirty and mouldy so you'll want to completely remove it rather than cover it up. It's also unlikely the new sealant will bind properly to the old sealant, leaving a messy finish.
If you need to remove your old sealant first, click here to find out how.
You will need:
- Suitable bathroom sealant
- Sealant gun
- Utility knife
- White spirit
- Cloth
- Masking tape
How to seal a bath
Now you've got all your equipment ready it's time to start sealing your bath. Although the job itself won't take long, you'll need to leave at least 24 hours for the sealant to dry before you can use your bath again.
1. Tape the edges of the bath
Before you start sealing, apply some masking tape above and below where you're going to seal, leaving a gap in the middle for the sealant. This will help keep your sealing accurate and prevent any getting onto your tiles.
2. Fill the bath
This is an important step but one many people will forget to do. Your bath will sink slightly when it's full of water, so you should fill up the bath before sealing to replicate this. If you start sealing with an empty bath, the sealant could crack as it expands when you first use it.

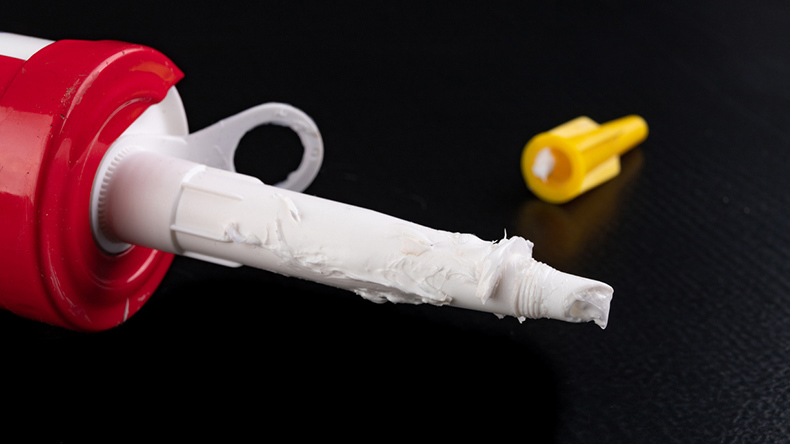
3. Prepare the sealant
Open your tube of sealant with a knife then cut the tip to a 45 degree angle, which will make application easier. You can then attach the nozzle and place it in your sealant gun.
4. Apply the sealant
When applying sealant, it's best to do it all in one go to avoid any overlapping. For this reason, you'll need to think about where to start and finish your sealing. For example, if you have a bath with two edges against the wall, start on the far edge of one wall so you can apply in one smooth motion to finish at the other.
Applying sealant with a gun requires patience. Apply even pressure to the trigger and move around the bath slowly and smoothly.

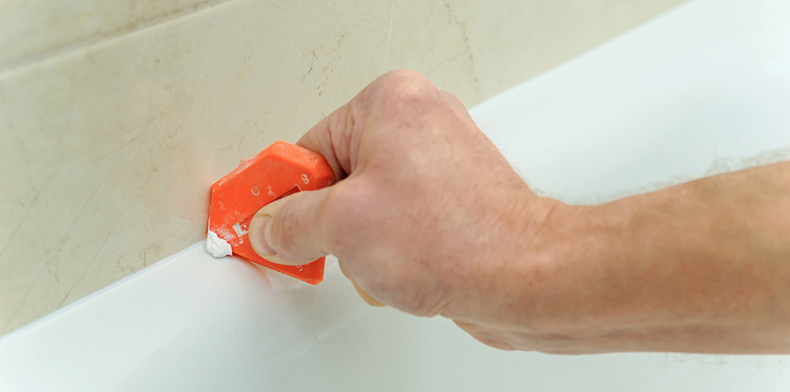
5. Smooth the sealant
Once you've applied the sealant, you'll need to smooth it down. The easiest way to do this is with a sealant applicator but you can also smooth with other rounded tools such as a wet spoon or even your finger. Whichever you choose, smooth the sealant at an angle to help water flow back into the bath from the wall.
6. Remove the tape
Once you've got the sealant smooth, you can remove your tape and wipe off any excess with a damp cloth.
7. Allow the sealant to set
You should now allow the sealant to set for at least 24 hours. During this time don't use the bath but leave the water inside.
How to remove sealant
If you're replacing the existing sealant on your bath you'll need to remove it first.
Take a utility knife and cut through the sealant, being very careful not to scratch the bath. You can then take a flathead screwdriver and gently scrape away the sealant.
When you've removed as much as you can with the screwdriver, use your fingers to remove the rest. If there's still some remaining residue, you can use some white spirit and a cloth to help clear it away.
Sealing a bath with large gaps
If you have a bath with a large gap to the wall, you have a number of options available to you. Your first course of action should be to remove all the existing sealant and try and reseat the bath. This involves trying to reposition it as close to the wall as you can.
If you're not able to reposition your bath, you can try applying two beads of sealant next to each other. Apply one bead along the edge of the bath and another on the wall. Then use a wet finger to join the two beads together to give you a smooth finish.
If there's a very large gap, you may need to fit a backer rod to close the gap, then apply sealant to the top of this.
There you have it! Hopefully you'll now have a neatly sealed bath. Our main tip when sealing a bath is patience. This is a job that, even if you're experienced, can easily go wrong if you don't take your time.


