
If your toilet seat is looking tired, broken or you just feel like a change, you're going to need to fit a new seat. In this guide we will take you through how you can remove your old toilet seat and install a shiny new one.
How to Remove a Toilet Seat:
1. Remove Seat From The Quick Release
If your toilet has a quick release button, push this and then lift up the toilet seat to leave just the fixings.
2. Pop Up The Fixing Caps
Using a screwdriver, pop up the caps that cover the seat fixing to reveal the bolts underneath.
3. Unscrew The Bolts
Using a screwdriver, unscrew the bolts on both sides.
4. Remove The Fixings
With the bolts loosened, you should be able to remove both the bolts and the fixing kits ready to install your new seat.
How to Remove A Traditional Toilet Seat:
1. Unscrew the Nut Underneath the Toilet
Look underneath your toilet and locate the nut underneath. This will usually be a wing nut that you can remove by hand but if it's a regular nut, you will need to loosen it with a wrench or pliers.
2. Pull Up The Seat
Once you have removed the nut, it's as easy as pulling up the seat.
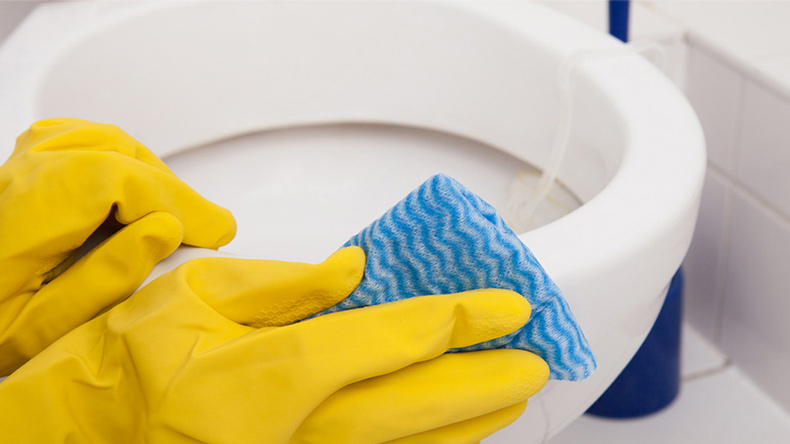
Before Installing a New Toilet Seat
Before installing your new toilet seat it's a good idea to give the area where the fitting sat a good clean. Once you install the new seat you won't be able to get to it again until you install another, so take the opportunity!.
Before you purchase and install a new toilet seat, it's also important to check it's the correct size and type for your toilet. Luckily we've created a comprehensive guide to take you through everything you need to know.
How To Fit A Toilet Seat:
- Insert the plastic plugs
- Insert the hinge
- Secure with bolts
- Align seat
- Attach hinge caps
- Reattach the seat
This outlines how you can fit a top fixing toilet seat, for bottom fixing seats, see the guide below.
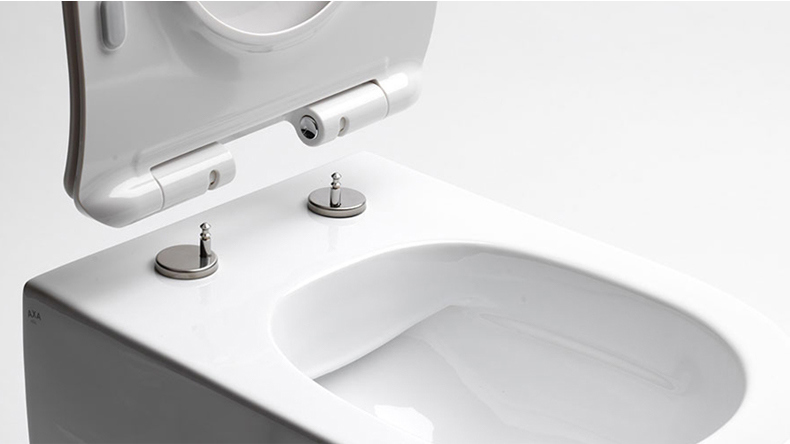
1. Insert the Plastic Plugs
Insert the two plastic plugs that came with your toilet seat halfway into the holes of the toilet pan.
2. Insert The Hinge
Place the metal washer that came with your seat on top of the plastic plug, then place a hinge over the top of the washer.
3. Secure With The Bolts
Insert the included bolts into the hole on each of the hinges and tighten with a screwdriver.
4. Align The Seat
Align the toilet seat over the two hinges and push it into place. Make sure the seat is in the correct position and tighten the bolts further if needed.
5. Attach The Hinge Caps
Press the quick release button again to remove the seat. If you are happy with the positioning, snap the hinge caps into place.
6. Reattach The Seat
Once you have added the hinge caps, the only thing left to do is to reattach your seat to the quick release mechanism.
Installing A Bottom Fixing Toilet Seat
Some toilets will instead come with a bottom fixing kit. These can be simpler to install than more modern top fixings.
1. Assemble The Fittings Provided
Using the instructions provided with your toilet seat, assemble the fittings for the toilet.
2. Drop The Bolts Into The Toilet
Once the fittings are assembled, you can line up the bolts and drop them into the holes either side of the toilet.
3. Tighten The Nut Underneath
Once you have located the bolt behind your toilet, you will need to screw the nut provided onto it. Don't tighten the bolt too tight yet.
4. Check The Seat Position
Make sure you are happy with the position of your toilet seat. Once you feel it is correct, tighten the the nut underneath fully.
Now you have a lovely new toilet seat that you have been able to install yourself. This really is a job anyone can do and a new toilet seat is a great way to give your bathroom a refresh. Check out the extensive range of toilet seats at Drench to find the one that's right for you.


